
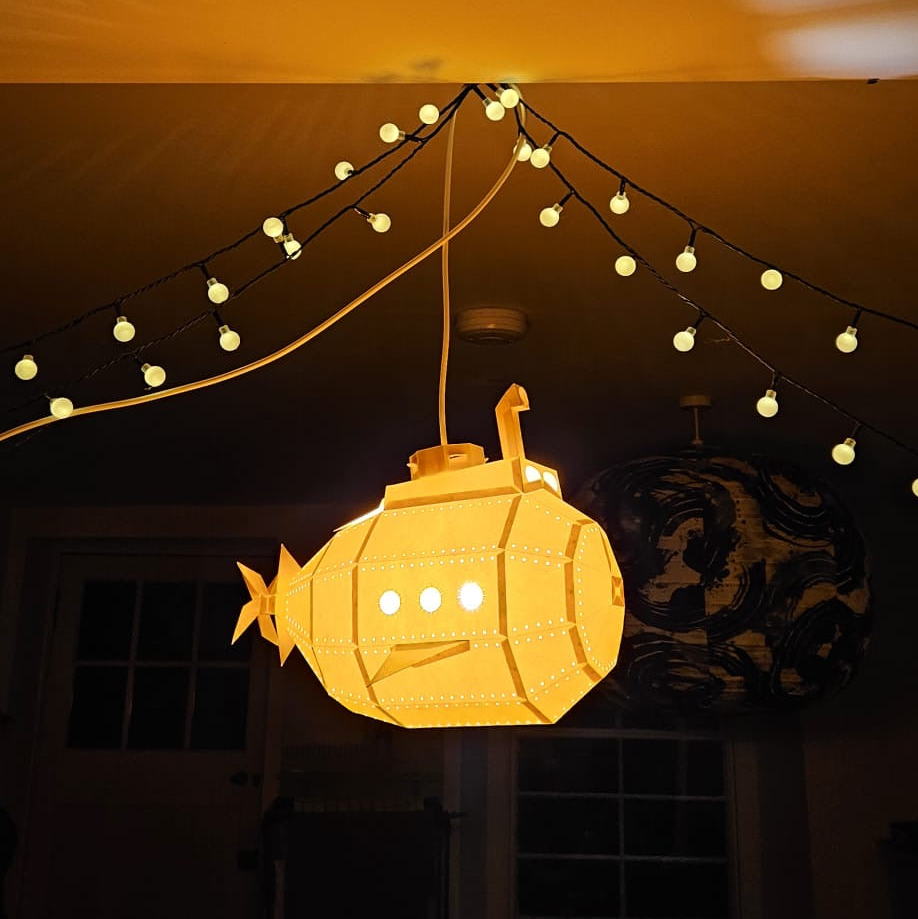
Stunning origami lampshades inspired by sea creatures. The only thing stopping you from hanging one of those up in your house is the box full of flat pieces needed to be folded and glued together. Those amazing pendants come flat packed. If you are not deterred - it will be your happy project! The most exciting part is building it up from pre-cut and marked pieces. Welcome to our Do It Yourself paper lightshades.

You will need:
- A flat surface: table/ cutting mat/ floor all work well,
- Paper glue (we used Gorilla paper glue and PVA glue for different designs),
- Ruller and something to score the paper along the printed lines - kitchen knife works fine,
- A couple of hours to enjoy your project.

At the end you will also need a lightbulb and a spot to hang your origami light in.

PRACTICE
Each paper lightshade pack comes with a practie owlet. It allows you to go through each step and understand how it all fits together. I highly reccommend building the origami owl first, it made me understand the folding system and going into the large lampshade with confidence.

BIG PROJECT
You will find handy instructions in the box. All pieces are pre-cut and your job is to fold the shapes along the lines. You can score and fold all the origami pieces first - it will mean you are getting sharp edges. Then you move onto glueing. Some glues will require you to hold paper together to catch it nicely. That's all, just add the next piece.


Score

Fold

Glue

and repeat until your beautiful pendant takes shape.
As a team, we've made six different underwater pieces and they all look stunning. If you like a little bit of a creative project - this might just be the perfect way for you to personalise your space.
It's magical watching it all come together.


